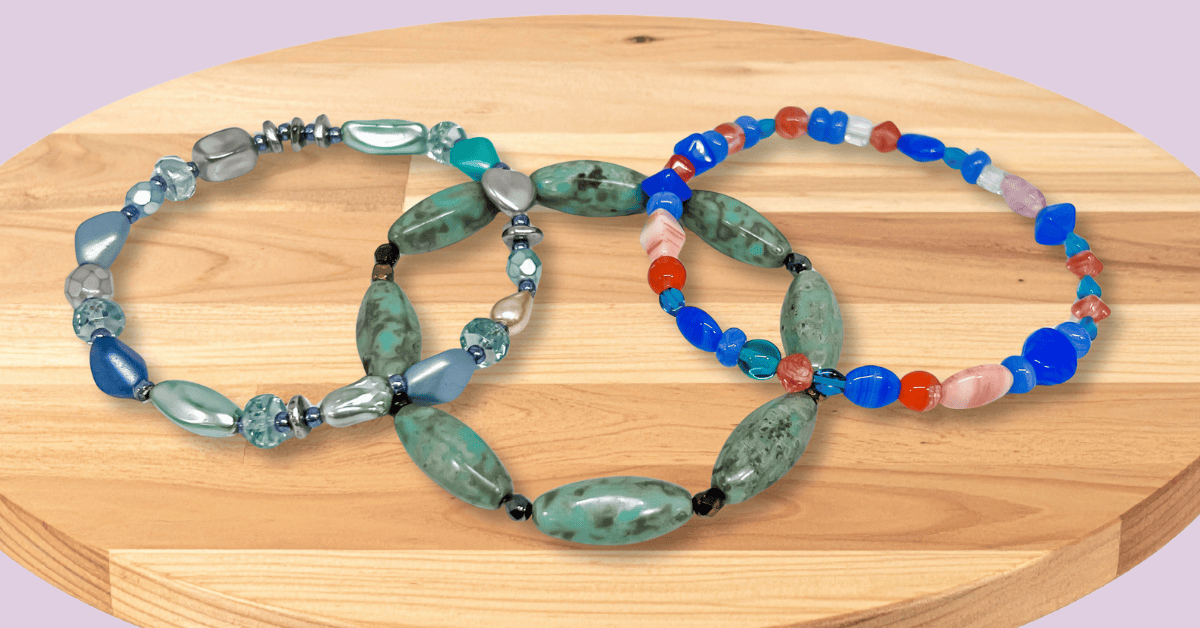
Simple stretch bracelets are a classic – they’re quick to make and are excellent gifts. Here are Jill’s top tips for working with elastic to create pretty and professionally-finished beaded bracelets.
Important note: stretch bracelets won’t last forever – eventually, the elastic will get brittle or break. But you’ll get a couple of years out of the bracelets, so they’re a fun fashion make!
What kind of beads can you use for stretchy bracelets?
You can use almost any sort of beads. Have an assortment to play with. Seed beads can also be great for spacing out your beads.
Tips:
- Bead mixes make great stretch bracelets
- Gemstone chips are fun for quick, colorful bracelets
- Accent beads like size 8 or 6 seed beads help your statement beads go further.
What elastic should you use for beaded bracelets?
What is the best elastic to use? There are many different kinds of elastic on the market. Some of my favorites for making stretchy bead bracelets are Stretch Magic, BeadSmith Opelon and Miyuki Elastic Beading Cord. Miyuki is great for lighter weight beads. Bead Smith and Stretch Magic come in different diameters, meaning you can use heavier weight beads with these.
To get started, you may also want to use a big eye needle to help you thread the beads onto the stretch cord. Be sure to cut off the elastic that went through the eye of the needle before you finish your bracelet, to prevent breakages later on!
I like to leave the cord attached to the spool – this stops the beads falling off the cord while you string! If you need to cut the cord you can also use bead stoppers or string a ‘stop bead’.
Thread on your beads, then once you have your desired design and length, you can remove your big-eyed needle. Leave enough cord on each end to give you enough to manoeuvre and to tie your knot. Cut it off the spool.
How to knot a stretchy elastic bracelet
There are several types of knots you can use, but we’re going to use a surgeon’s knot. To do a surgeon’s knot, you pass right over left and under, pull that tight to the beads.
Now, you’re going to reverse that. Left over right, take it through the hole, then pass through the hole a second time. This helps make it secure.
Pull it all snug and ensure it sits between the beads. I personally like to add one more knot on top to keep it secure. Then add a dab of glue over the knot to seal it.
Let the glue dry. Try to position the knot inside a bead, then clip off the tail threads.
Tips for making stretchy bead bracelets
- Using crimp covers can scratch the elastic cord and cause breakage.
- Using crimp beads instead of knots can also cause breakage.
- Make sure your beads aren’t too tight when tying the knot; they need to have some room to move.