In this article, I’m going to cover all the basic techniques you need to know to get started making your own handmade jewellery. We’ll look at the basic tools you need to begin with, and how to make loops to create earrings, charm bracelets and more!
Tools
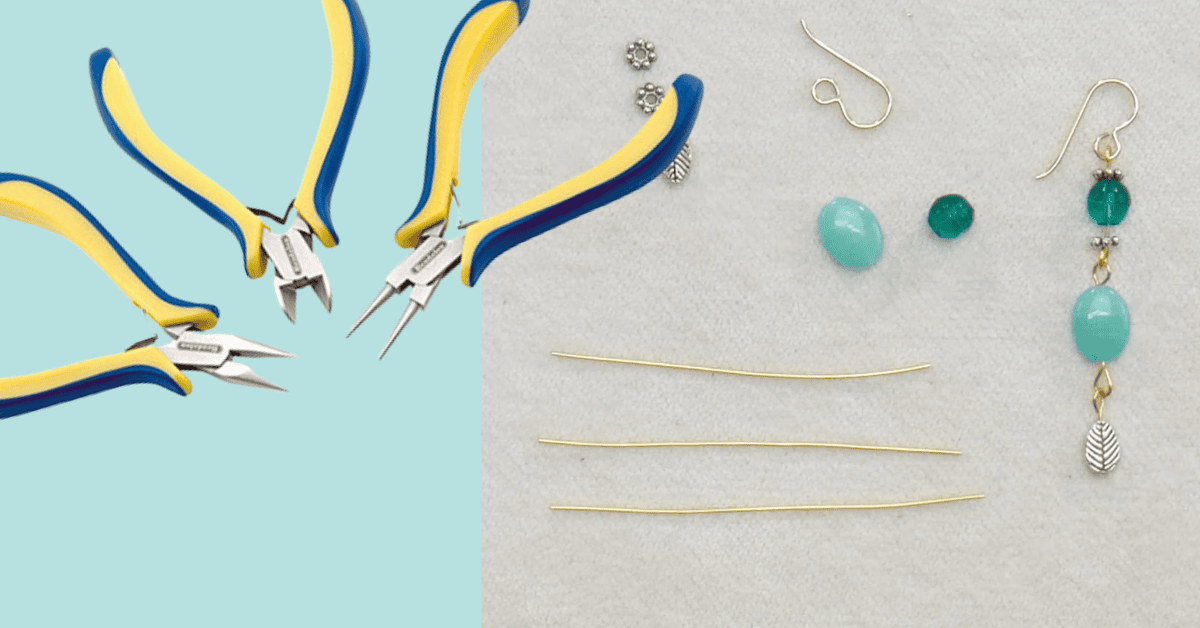
What basic tools do you need to get started with wirework?
- Round nose pliers – for making the loops
- Flush cutters – for cutting the wire
- Chain nose pliers – for gripping and flattening
Making Loops
Sometimes the simplest things can seem like the hardest! And cutting the wire to just the right length when you’re making a simple loop on top of a bead is right up there with quantum physics to someone like me. Twenty years in the bead biz and I still mess it up regularly!
So I developed a trick to help me, and now you, out! Here’s how to make a perfect basic loop on top of a bead
Why do you need to make loops?
Wirework loops are essential in jewellery making for attaching beads – whether it’s making earrings, charm bracelets or drops on pendants, wire loops are something you’ll want to master.
How to make a perfect basic loop on top of a bead
It can be hard to know exactly how much wire above the bead to allow for, in order to make a consistent loop! So I made a template! All you need is a permanent marker and a piece of scrap wire.
To make the template, create a loop as normal (see steps below for making a loop), then mark the piece of wire just where the loop begins.
Then, straighten out the wire (nylon-jawed pliers are handy here) – and the template is ready to use – the length of wire from the mark to the end is the amount you need to leave for making loops. You can use this as a measuring stick to make future loops against. You’re welcome!
Make your loop
- Thread your bead onto your wire or headpin. Bring your template wire right up against the bead, and cut your working wire to the length shown by the mark on the template wire.
- Using round-nose pliers, roll your wire around to make the loop.
- Open the jaws of the pliers and reposition your pliers (keeping the jaws in the same place), and roll some more until the wire hits the back of the loop.
- Using chain-nose or round-nose pliers, gently reposition the loop so that it sits nicely on top of the stem like a balloon (rather than a P-shape).
Tips for making loops
- Always roll away from yourself when making a loop; it gives you much more space to work
- Marking your pliers with a permanent marker will also help you get a consistent size loop!
Watch the how-to video here:
One-step-loopers
There is a wonderful tool called a One-Step Looper which helps make life much easier for beginners. It makes the loop and trims it for you, all at the squeeze of one set of pliers!
- Simply thread on your beads to your wire or headpin.
- Insert the wire into the jaws, squeeze the handles.
- You’ll need to then adjust the loop slightly to ensure a fully closed loop.
How to make a wrapped loop
Wrapped loops can add that extra professional finish to a piece of jewelry, but they also add security! Instead of trimming the wire, we’ll wrap the excess wire around the stem in a neat coil. This can take a little bit of practice but once you’ve mastered it, you’ll have a really professionally finished piece of jewellery!
1. Make a loop as before. Be careful not to fill your headpin up too much, allow at least 1-inch of free space.
Tip: If you are making a charm bracelet or attaching the bead to chain, remember to connect your loop to the chain BEFORE you start the wrap!
2. Grip the loop with chain nose pliers. Use your fingers or a second pair of pliers to grab the end of the wire and drag it around the stem. Repeat, repositioning the loop in your jaws as needed to make neat wraps.
3. Trim the excess nice and close, and your wrapped loop is done!
You can find tools for wire working here.
Shop wire for jewellery making here.