It’s possible to decrease and increase in peyote to add in shaping and texture. There are even some very cool things you can do with geometric peyote!
Here, I’ll walk you through adding increases and decreases at the end of the row for a flat piece of beadwork. I also introduce you to geometric peyote. We’ll be adding more techniques and info in time, so check back!
Peyote increase on the outside of a row
Let’s say you’re making a straight strip and want to add shaping by adding stitches. It’s easy to do! You can do it by adding an even number and odd number of beads.
Increase: Adding an even number of beads
At the end of the row, pick up 3 beads (the two you wish to increase by and the first bead of next row), skip the second bead and pass back through the first bead picked up (working towards the beadwork) – it will look at bit like a T-shape. Now you’ll be in a position to carry on the row. It might twist at this point, but when you add the next row you’ll see it will sit fine.
Increase: Adding an odd number of beads
At the end of the row, pick up 4 beads (the three you wish to increase by and the first bead of next row), pass back through the third bead from your needle, (working towards the beadwork). Coax the beads into the T configuration. Now pick up 1 bead and peyote as normal.
In order to fully secure the new beads, you’ll need to do a turn – so working back the way you came pass through the bead above the one you are exiting and the through the next bead, then pass through the bottom row of the new beads. Turn by passing into the first bead of the new row. You’re ready to carry on beading!
Peyote decrease on the inside of a row
If you want to make a decrease on the inside of a row, then you can easily do this by skipping a bead – it’s one of the times that it’s ok to have thread showing! Simply pass across the bead space where you want to make the decrease, then carry on beading as normal.
When working the next row, when you get to this ‘valley’, you’ll pick up just one bead and pass into the next sticky-outy bead – you’ll see the work will move inwards. Then carry on beading as normal – that’s just how easy it is!
This technique also works with circular peyote and is useful when creating bezels for shaped stones and creating corners or cinching in work.
Peyote increases in geometric peyote
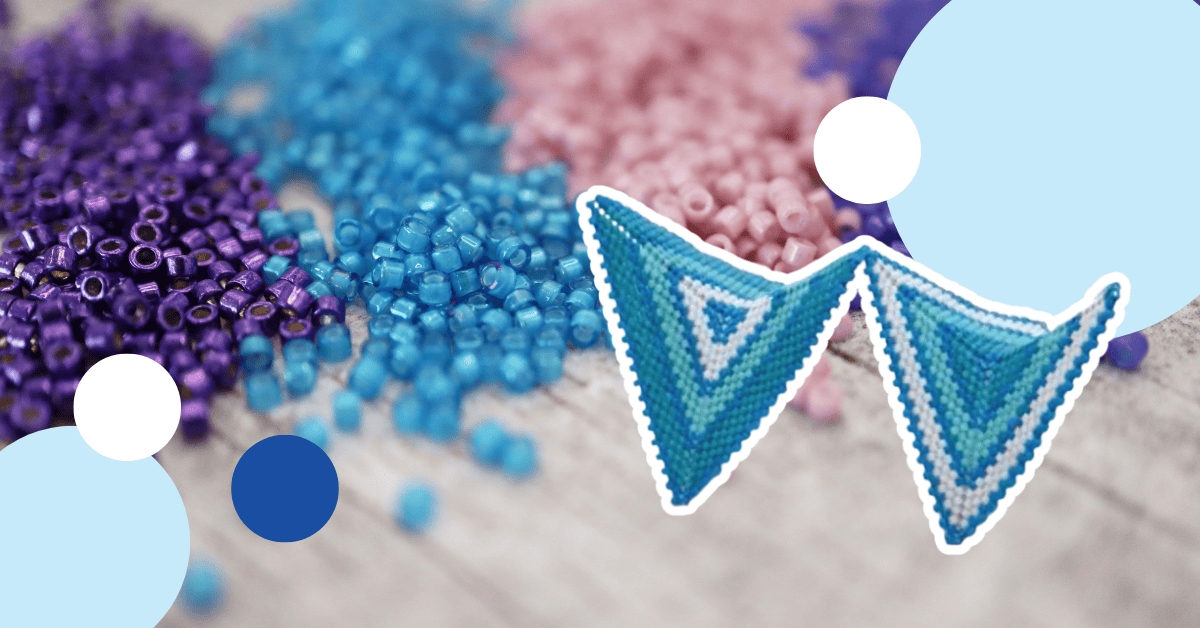
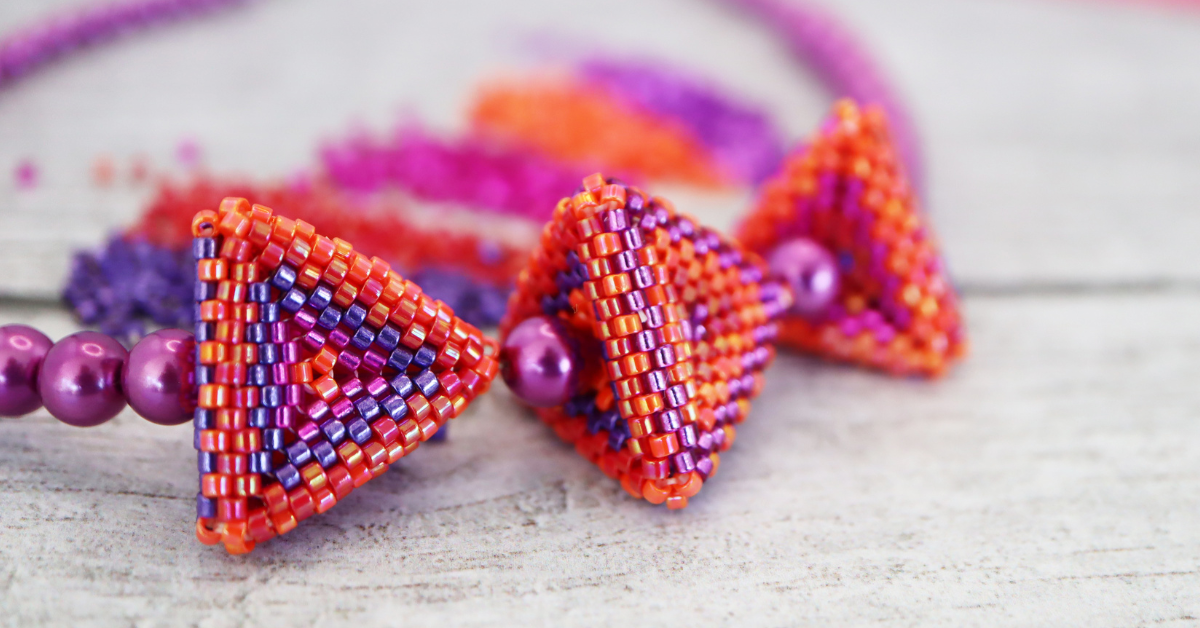
There is lots to explore with shaping in geometric peyote! Whether creating flat or circular pieces of geometric peyote, it’s easy to add corners by simply picking up two beads instead of one.
To continue the increase, on the next round, when you get to these corners, pass through the first bead in the pair. Pick up 2 beads and pass down through the next bead in the set. Then continue your peyote as usual.
Explore this technique by making beaded triangles in Chloe Menage’s Fruity Pyramids project.