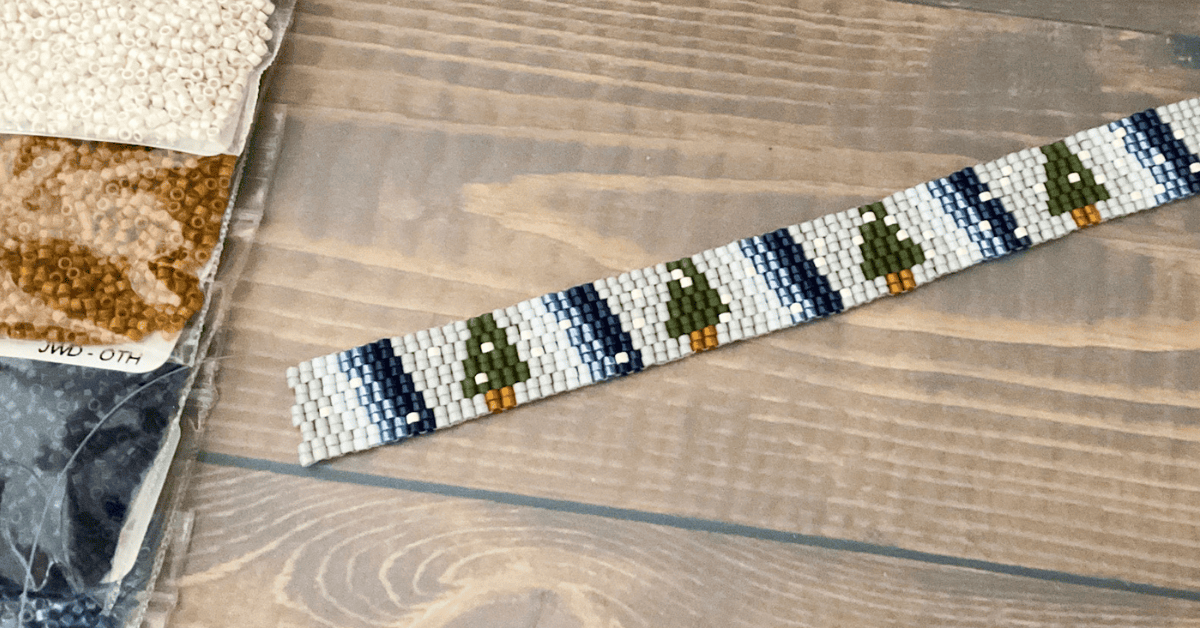
Peyote stitch is a really versatile stitch and one that is a great place for beginner beaders to start.
It has many variations such as even count, odd count, tubular and more! In the JWD Learning Center, I cover everything you need to know to get started with this fantastic beading stitch.
Jump to technique:
- Even count peyote stitch
- Odd count peyote stitch
- Tubular peyote stitch
- Circular peyote stitch
- Two-drop and three-drop peyote
- How to decrease and increase in peyote stitch
What is peyote stitch?
Peyote stitch is a method of joining beads to create a fabric made up of beads! In peyote stitch, the beads sit in neat off-set columns.
The stitch can be used to create beaded jewelry such as bracelets or necklaces, capture stones as a bezel, weave larger tapestry-style images and much, much more! It works very well with cylinder beads such as Miyuki Delica beads, as well as with Japanese seed beads like Miyuki or Toho.
How to count rows in peyote stitch
It’s easy to count rows in peyote stitch! If you look at your beadwork, then you’ll see rows and columns of beads. If you count from the lowest bead and follow a diagonal line upwards, counting each bead on this diagonal, then you’ll be able to see how many rows of peyote stitch you have!
A second method is to count each bead in the first column and each bead in the second column; add them together and you’ll have the total number of rows!
Two-needle start with peyote
It’s possible to start even count peyote stitch with two needles! I know, crazy! It’s a fairly unusual way to start peyote, but there is a good reason for beginning this way.
Why should you use two-needle peyote start?
This is a useful method if you’re working with a longer strip of peyote, as it really helps create a consistent tension from row 1.
Start with a single length of thread (not too long) and add a needle on each end. Now, pick up one bead on each needle, bring those beads down and center them on your thread.
Pick up the next single bead using both needles as one needle – so both needles are passing through the bead in the same direction. If you are working with smaller beads and can’t fit both needles through together, then take the first needle through the bead, move the bead down to the thread and then take the next needle through in the same direction.
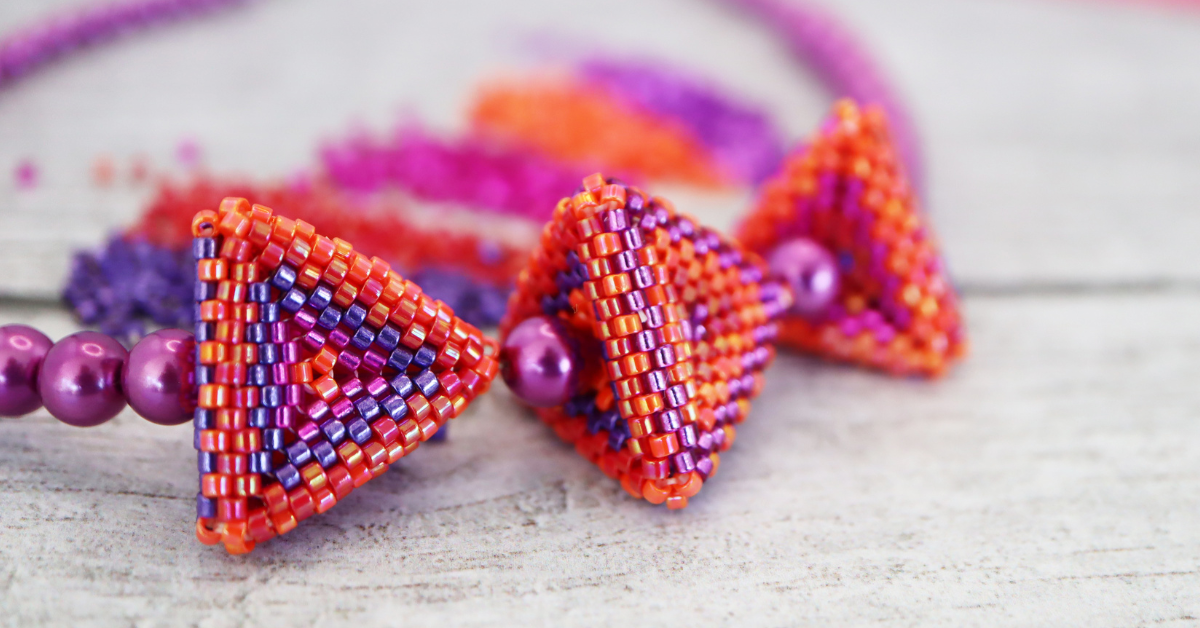
Pull this bead down and snug it up to the other beads. You’ll see that two of the beads stack on top of each other with the third next to it – like a little pyramid. Continue this method until you have enough beads for your project – this will create rows 1-3.
Once you are ready to start row 4, you can simply drop one needle and continue working peyote stitch as usual with the other needle.
To join the two-needle start peyote strip to create a circle, simply fold it around, with your needles coming out of a single bead, take one through the end-most bead on one side and then the other needle through the other end-most bead next to it – working towards the beadwork. Pull it snug and you’ll have a ring or tube.
How to add in thread in peyote
Sometimes you gotta add in thread! We’d all love to create a beading project with a single length of thread but that’s not always possible! Working with super long lengths of thread will lead to tangles and sore shoulders or elbows from all that pulling!
There are several ways you can add in thread when working with peyote stitch. Here’s my tried and tested method…
Firstly, don’t end off your old thread until you have started the new thread – this way you will know exactly which bead and direction that you will be starting from.
Cut a new length of thread, and pick a spot randomly, near where you will be continuing your work. Pass through a couple of beads, leave a little tail to hang on to. Tuck your other threads out of the way.
Now, change direction by popping over to the bead above or below, working in the opposite direction and pass through a couple more beads. Now change direction again and begin to work towards the bead with your working tail thread coming out of it.
My rule of thumb is that I like to change direction three times!
Once you have secured your thead and exited from this starting bead, you can trim the tail thread from your new thread. Now you need to weave in your old thread, and you will use the same method for this – weaving through beads and changing direction until it is secure. Then you can trim your old thread.
Stitch-in-the-ditch with peyote stitch
What is stitch-in-the-ditch and why should you use it in your beading projects?
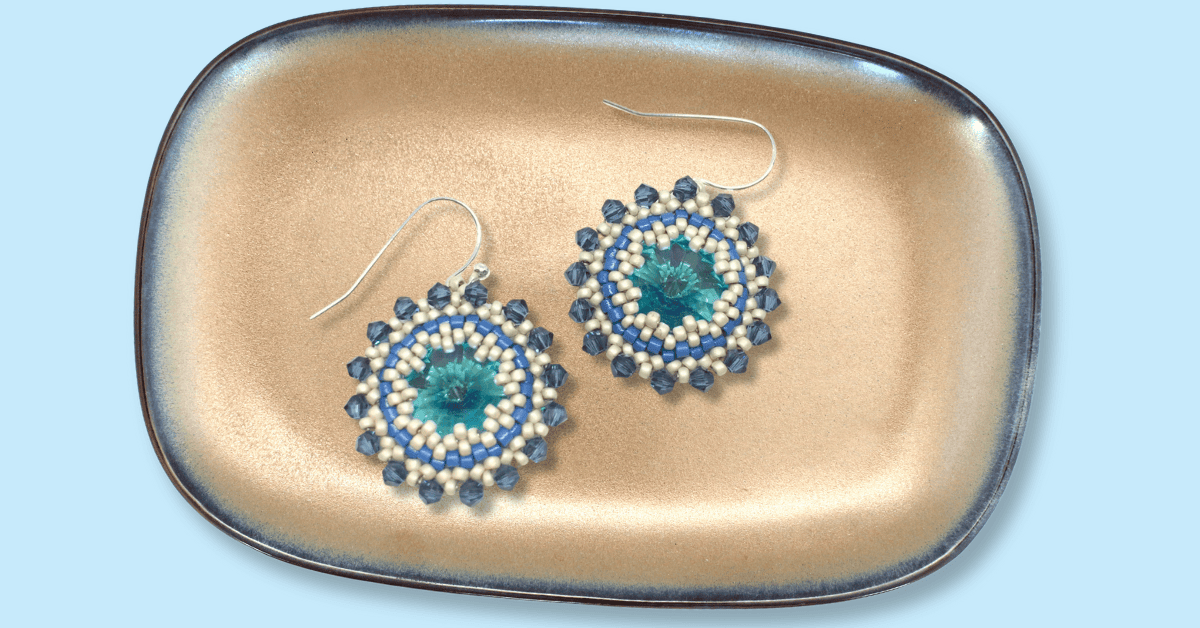
Generally, stitch-in-the-ditch is done when you have a flat piece of peyote and want to add dimension. If you look at your strip of peyote you’ll see you have little ditches between the beads – and stitch-in-the-ditch is literally adding a bead in that space.
Exit from a bead, jump over the ditch and pass into the next bead in thesame row, on the other side of the ditch. You can repeat along the row to add a bead in each ditch. These new beads will sit on top of the peyote.
Tips for stitch-in-the-ditch
- Switch to a thinner or more flexible needle, this will help you get into tight spaces
- Try adding beads using peyote between the new stitch-in-the-ditch beads!
This is a great way to add embellishment and texture to your beading projects. Super easy to do! Stitch-in-the-ditch works really well on peyote bezels too, it’a brilliant way to build out your design, similar to how I worked my Audrey Earrings.
How to fix a broken bead or skipped stitch
Uh oh! You broke a bead or missed one off your thread! Don’t worry – there’s a way to remedy this and replace the broken or missing bead. Obviously, the best way is to rip back to that spot, but if you’re too far past that spot, then here’s what you need to do…
My top tip would be to only do this task in good lighting and when your eyes aren’t tired.
Why did your bead break?
Usually, this is because you tried to put too much thread through a bead or you used too large a needle. It can also happen if you try to pass through too many beads on the diagonal at once.
Some beads have a tendency to break, such as matte Delicas or silk Delicas – they’re beautiful but more fragile than other Delica beads.
How to fix a spot with a broken bead
You’ll see there will be threads in the space – these can get in the way and cause the bead to pop out, but it does depend on the piece of work.
To fix this, you have two options:
- Cut the two threads and then pop a new bead in.
Before you do this, you will need to reinforce the entire area around the broken bead with a new thread. Then you can safely trim the threads in the gap safely. Finally, you can place a bead in the space and secure it by weaving through it.. You won’t be able to see the repair at all!
- Don’t cut the threads! Just place the new bead in and weave it in place with a new thread. The visible threads should push to the back or side of the new bead – depending on your tension and how bulky they are.
Now that you have the hang of peyote stitch, take a look at these great FREE PATTERNS using peyote.