Right angle weave – or RAW – is a really versatile beadweaving stitch and a great one for beginners to try! It has lots of variations to explore once you’ve covered the basic stitch, including Cubic right angle weave (CRAW), Modified RAW (MRAW) and prismatic RAW (PRAW).
It’s definitely one of those stitches that you love or hate!
It’s possible to create RAW using one beading needle or with two for a two-handed version. Most RAW is created flat but its geometric nature makes it great for beading 3-dimensional projects such as beaded beads. You can use almost any type of beads for RAW – but fire polish beads are an excellent choice if you are just starting out, as they make the stitch really easy to see.
Jump to section:
Flat right angle weave (RAW)
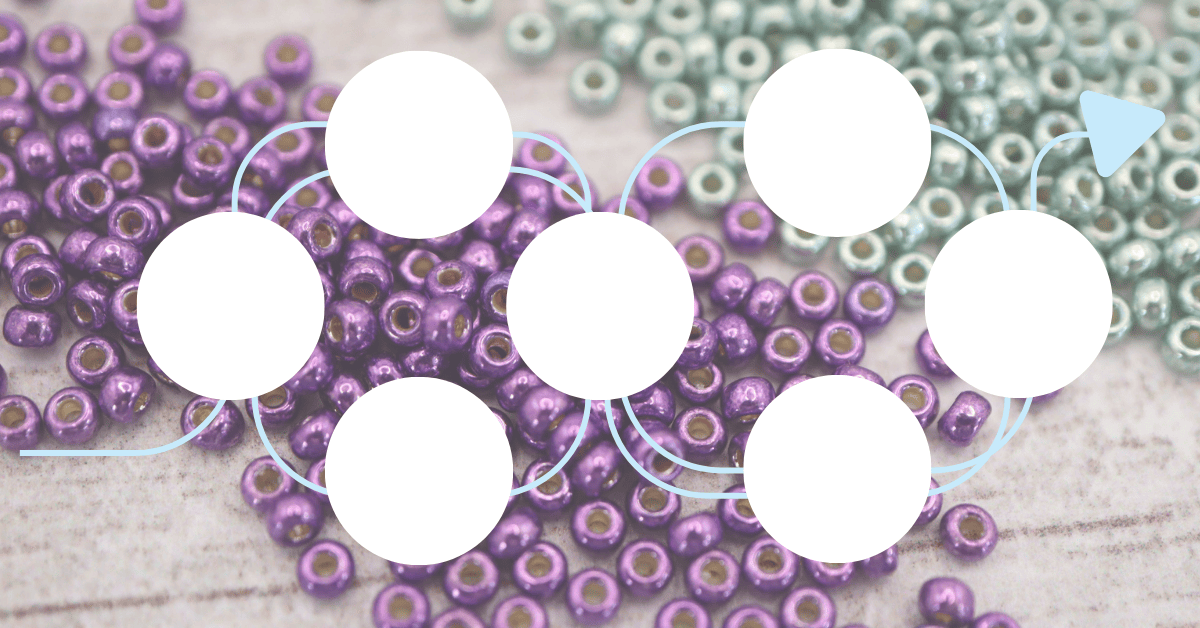
Each RAW unit has four sides – I like to think of it like a box or a house – with walls, a floor and ceiling. If you are creating a terrace of houses, each one has a shared wall! If you are adding more rows you need to think of these like apartments, they share walls and ceilings!
Right angle weave is called such because you have intersections at right angles. You can turn right or left but not straight ahead. One of the rules of RAW is that your thread should never cross straight through an intersection – you only pass where there is already thread. Sometimes you have to weave round to get into position to carry on beading!
With single-needle RAW you alternate clockwise and counterclockwise thread paths between units. This requires some extra passing through beads to get where you want to go without the thread crossing intersections. This is normal, so don’t feel like you’re doing something wrong.
Download basic single-needle right angle weave (RAW) instructions here.
It’s possible to use more than 4 beads in each RAW unit – try picking up 2 beads for each side of the square instead.
Embellishing RAW – stitch-in-the-ditch
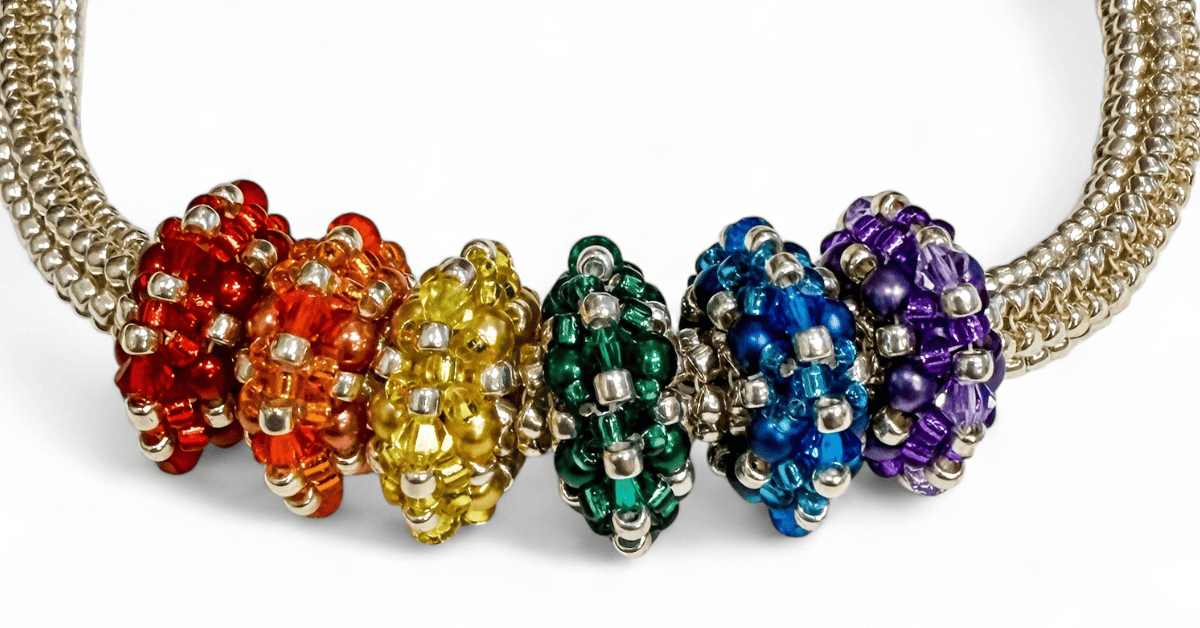
Adding embellishment with Right Angle Weave (RAW) is easy! Using stitch-in-the-ditch allows you to build off the basic RAW to add embellishments and dimension. This works especially well for bezelled pieces of beadwork!
For stitch-in-the-ditch with RAW you can add beads between each of the parallel beads (those with the same hole orientation – this means you can actually add beads in either direction!). You’ll simply pick up one bead and pass through the next parallel bead.
You can experiment with the beads you add here – they could be the same color or you can get creative with different colors, shapes or bead types!
Why would you want to do stitch-in-the-ditch in RAW?
In addition to being an opportunity to build out the work and pave the way for more complicated beadwork, adding beads in the intersection hides the thread. Stitching in the ditch also stiffens the work.
What’s more, you can use stitch-in-the-ditch to influence the shaping of the work. Using larger beads can bend out the work, while smaller beads will cause the work to pull in.
Once you have added the stitch-in-the-ditch beads, you can then do peyote stitch off these beads!
Adding in new thread with RAW
How should you add a new thread when working with right angle weave (RAW)? When I’m considering whether to tie a knot or knot, I think about how loose the stitch is. Right angle weave can be loose or dense, so you can use either weaving or knotting.
Jill’s golden rules:
- Don’t end off your old thread until you’ve woven in your new thread – it acts as a bookmark and shows you where you need to start from.
- Remember to keep to those right angles and don’t pass directly across those intersections.
Here are both techniques using single-needle RAW…
1. Weaving in a new thread
Pick up a spot and your thread through, following the threadpath. You’ll need to pass through the first square in a clockwise method and then, to anchor your thread, switch to a counter-clockwise direction for the next square. Repeat this until you reach your destination, and you’ll feel that the thread feels secure.
2. Weaving and knotting
Pick up a spot and work your thread through, following the threadpath. You’ll need to pass through the first square in a clockwise method and then, to anchor your thread, switch to a counter-clockwise direction for the next square.
Catch an intersection thread with your needle, pull it down slowly and give yourself a small loop to work with – pass your needle through the loop and pull to tighten. This is called a half-hitch knot.
Now weave through to reach your destination, and you’ll feel that the thread feels secure.
FREE PATTERNS TO TRY
Now that you have the hang of right-angle weave stitch, take a look at these great FREE PATTERNS using RAW.