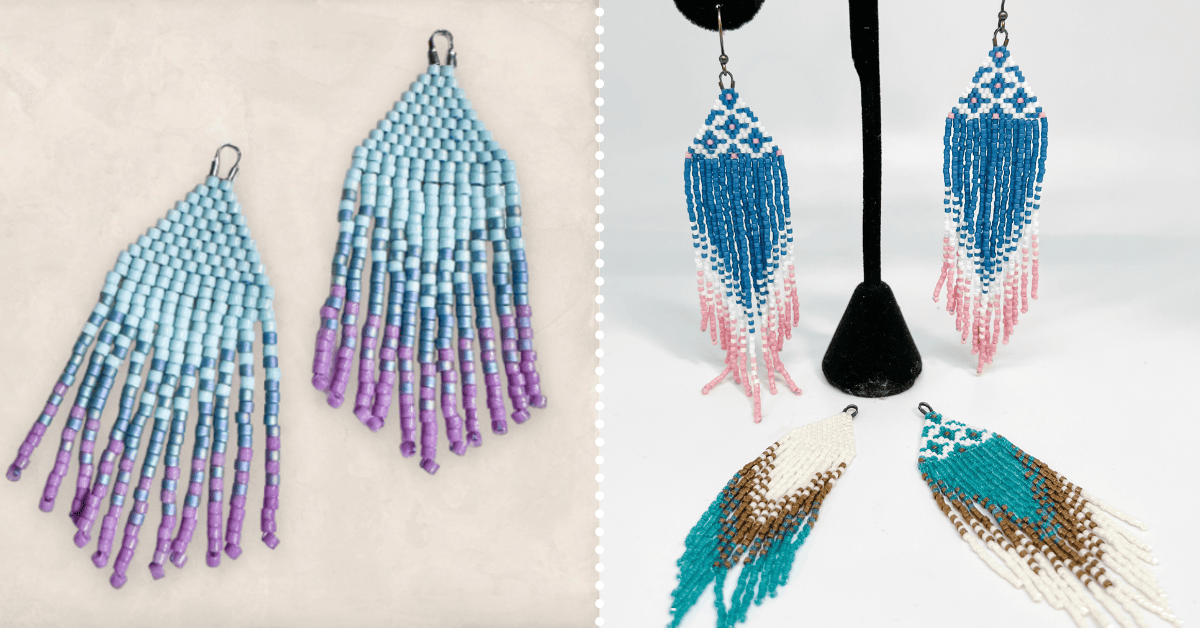
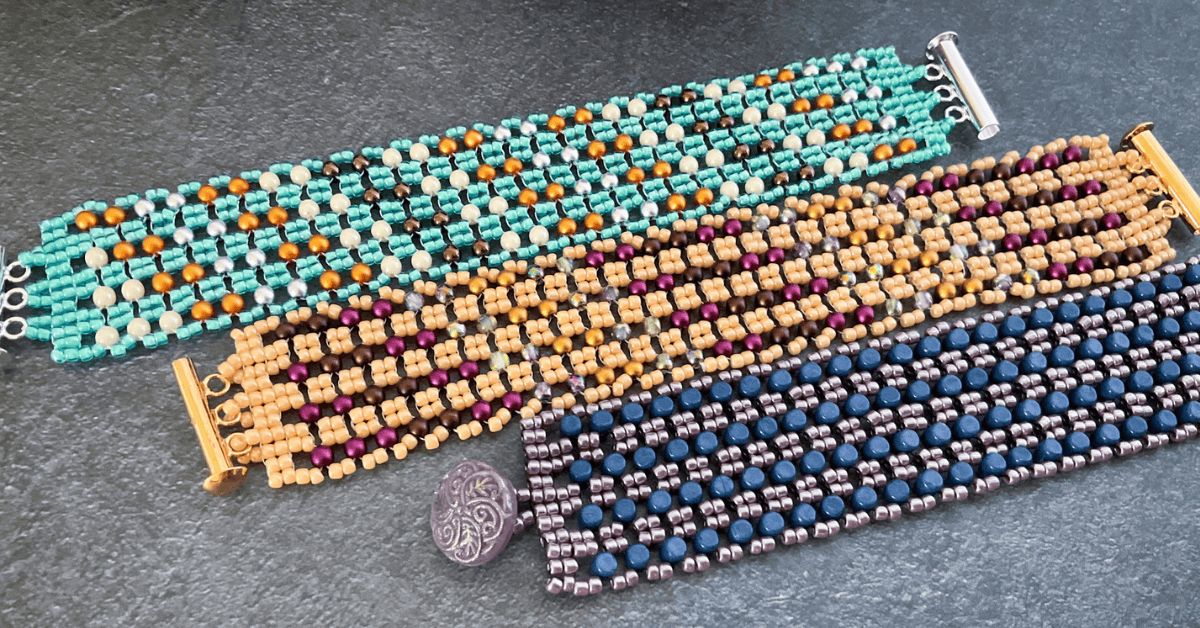
Herringbone – also known as Ndebele stitch – is a wonderful beadweaving stitch, in fact it’s one of my favorite stitches! Herringbone stitch is called so because of how the beads sit, in a chevron or V-shape, resembling the bones of a herringbone fish!
It can be done both flat and tubular. Tubular herringbone is fantastic for ropes, while the flat version has a soft and supple drape, making it perfect for bracelets.
The world is your oyster when it comes to choosing beads to use in herringbone stitch. It can be done with seed beads, fire polish beads or even 2-hole beads like Miyuki Tila beads or SuperDuos!
Jump to section:
How to do flat herringbone
I like to start herringbone with ladder stitch. You can do this 1-bead or 2-beads tall. I prefer 2-beads tall, as it creates a frame for the herringbone.
Every time you do a herringbone stitch, you are picking up 2 beads, so your ladder stitch base needs to be an even number of beads.
To begin, exit from the top, last bead on the end of the ladder stitch. Hold it so that this is on the right. Pick up 2 beads and pass down through the first bead to the left, nudge the beads to sit in the V-shape.
Your thread is coming out between beads, so now we need to get to the upper edge to be in position to add more beads! So, pass up the bead to the left of the one you are exiting from.
Now pick up 2 beads and pass down the next bead to your left. I always like to work in the same direction, so flip your work over.
Now you need to get into position to continue working. There are two methods for this.
Method 1 for beginning the next row in herringbone
The first method is to simply pass straight through your top bead – but you will see your thread on the outside edge. This is ok, depending on what your design is.
A second option for this (which I prefer) is to pick up 3 small size 15s (or a size down from the bead you are working with) before passing into the top bead; it will create a ruffle to hide the thread.
Method 2 for beginning the next row in herringbone
This method is much neater and my preferred method. To step up in herringbone without a visible side thread, you will need to pass across to the bead next to the one you are exiting, then go across and up through the top final bead.
This method can straighten the beads slightly, so don’t pull too tightly.
Finishing flat herringbone
You might notice that the top of the towers aren’t connected. This is because we join herringbone stitch at the bottom of the stitch, so don’t let it confuse you!
When you get to the top of the piece, before you finish, you need to ladder stitch these together.
So, to start, stitch around the last 4 beads in the final column; this will straighten them up a bit.
Now you’ll do the same thing on the next column, stitching around these beads, attaching the columns and straightening them up. Now you’ll be ready to attach your clasp
Tips for herringbone:
- Play with patterns and colors; why not make each column a different color?
Tubular herringbone
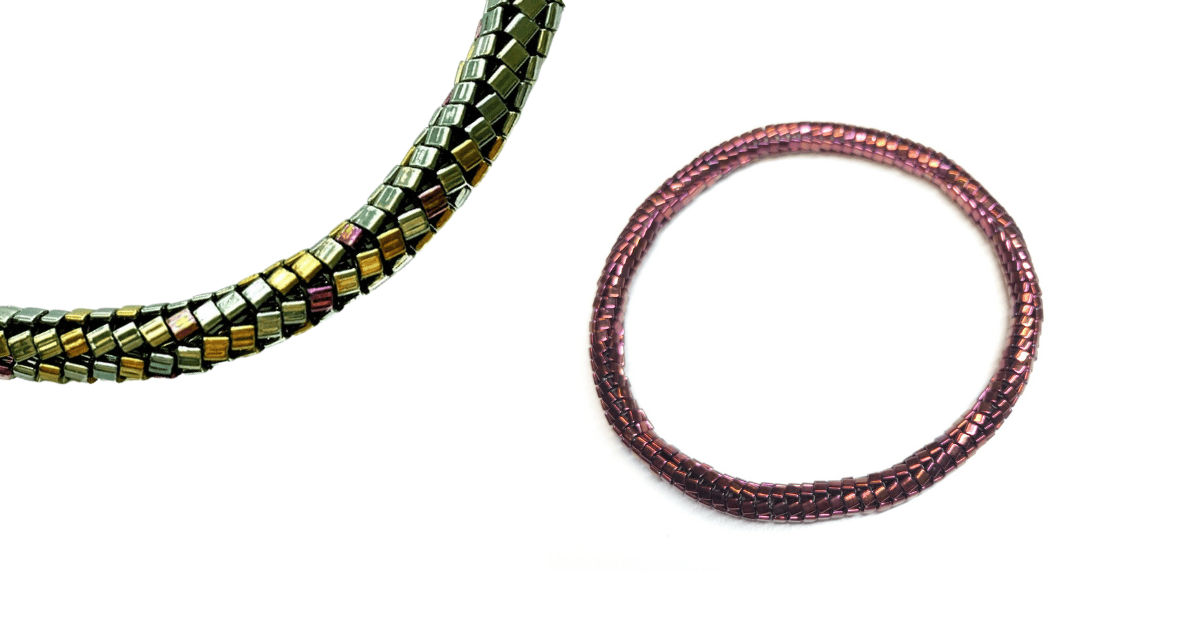
After you’ve mastered the art of herringbone in its flat form, you’ll want to try your hand at tubular – this is one of my favorites! This is a great stitch for beaded ropes for necklaces and bracelets.
To get started with tubular herringbone, create your ladder stitch start, then fold it like a taco and circle around the first and last bead to join them together. Go back up through the bead again to be working on the opposite side to your tail thread.
To begin the first row of herringbone, pick up 2 beads as you would in flat herringbone, pass down through 1 bead, then pass up the next bead along. Pick up 2 beads and repeat around.
Your last stitch to the round will be a little different. Add two beads as normal, but this time you will need to ‘step up’ by passing through 2 beads. You’ll only need to do this step up at the end of every round; it gets you into position to begin the next round of herringbone.
Now you will continue picking up 2 and passing down 1, then up 1.
You might notice that the tops of the towers aren’t connected. This is because we join herringbone stitch at the bottom of the stitch, so don’t let it confuse you! We will finish these together at the end of the rope, by stitching around, just as we do with flat herringbone.
Tips for tubular herringbone:
- Play with patterns and colors, why not make each column a different color?
- Or experiment with random accent colors!
Spiral tubular herringbone
Once you’ve mastered tubular herringbone, the next thing you can do is make it spiral! Spiral herringbone stitch works in much the same way as tubular, with one little difference.
Start your herringbone in the same way as for tubular; you’ll want to bead a few rows in the regular stitch to get started. Then, to start the spiral, you will pick up the 2 beads as usual, go down two beads and go up one each time and you won’t step up at the end of the round!
To finish it off, you’ll want to bead a few rounds of regular herringbone stitch – try to mirror the start.
Tips for spiral tubular herringbone
- The end of spiral herringbone looks great with fringing!
- Occasionally, you’ll see directions that tell you to go down 1 and up 2 instead – this will cause your spiral to lean the other way; it will also make your spiral less of a tight spiral. Have a play with samples and you’ll see what I mean!
Herringbone with 2-hole beads
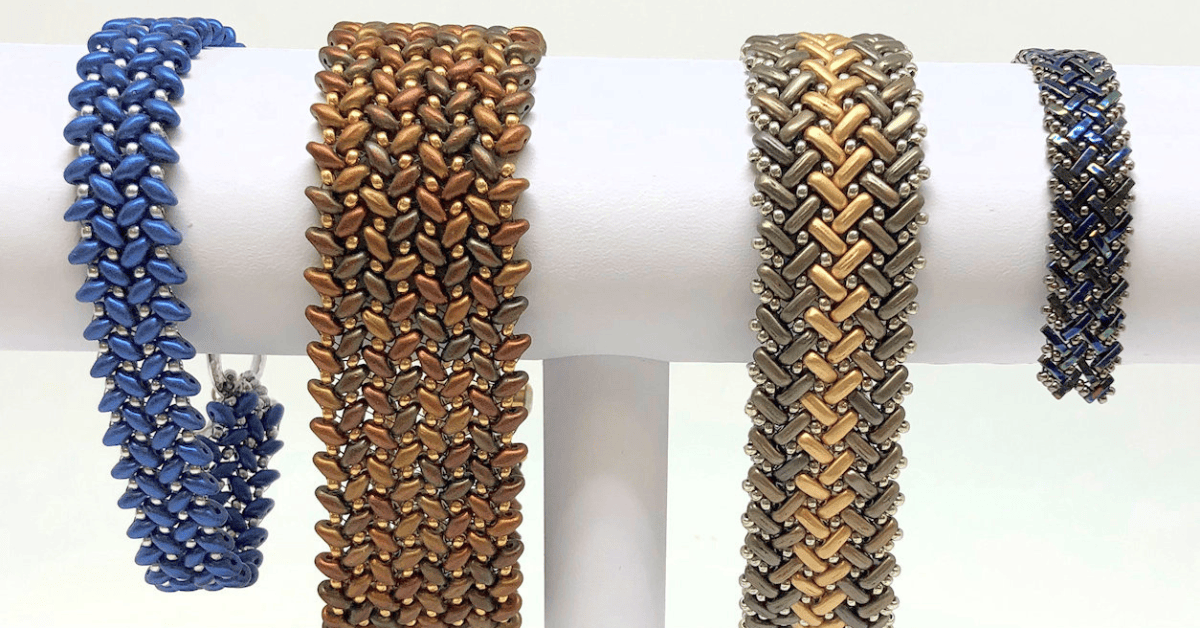
Did you know it’s possible to use 2-hole beads for herringbone stitch? I’ve had a lot of fun experimenting with this, as you can see in my 2-Hole herringbone bracelet pattern and Danielle’s exclusive Superduo Herringbone Cuff.
It’s possible to use Miyuki Quarter Tila beads, Tile beads, Bar beads and even SuperDuos beads to create bold beaded cuffs and bracelets. One of the most fun things about this style of herringbone is how different you can make it look by using various types of two-hole beads!
There are different methods for doing this stitch, and each gives a different effect. I recommend taking a look at my free patterns to fully explore this stitch.
Free patterns to try
- Two-hole herringbone bracelet by Jill
- Skinny two-hole herringbone by Jill
- SuperDuo herringbone cuff by Danielle Wickes
Now that you have the hang of herringbone stitch, take a look at these great PATTERNS using herringbone.