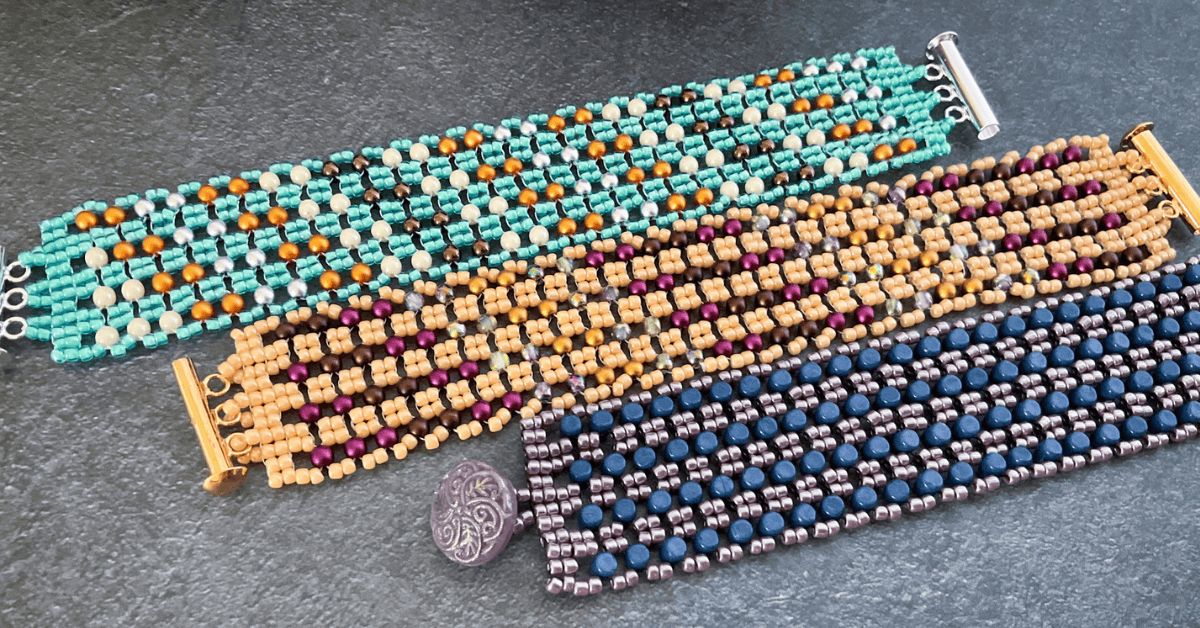
Have you found a beading project you’d like to make using brick stitch and are wondering how to get started? Let me walk you through the wonderful world of brick stitch!
What is brick stitch and what is it used for?
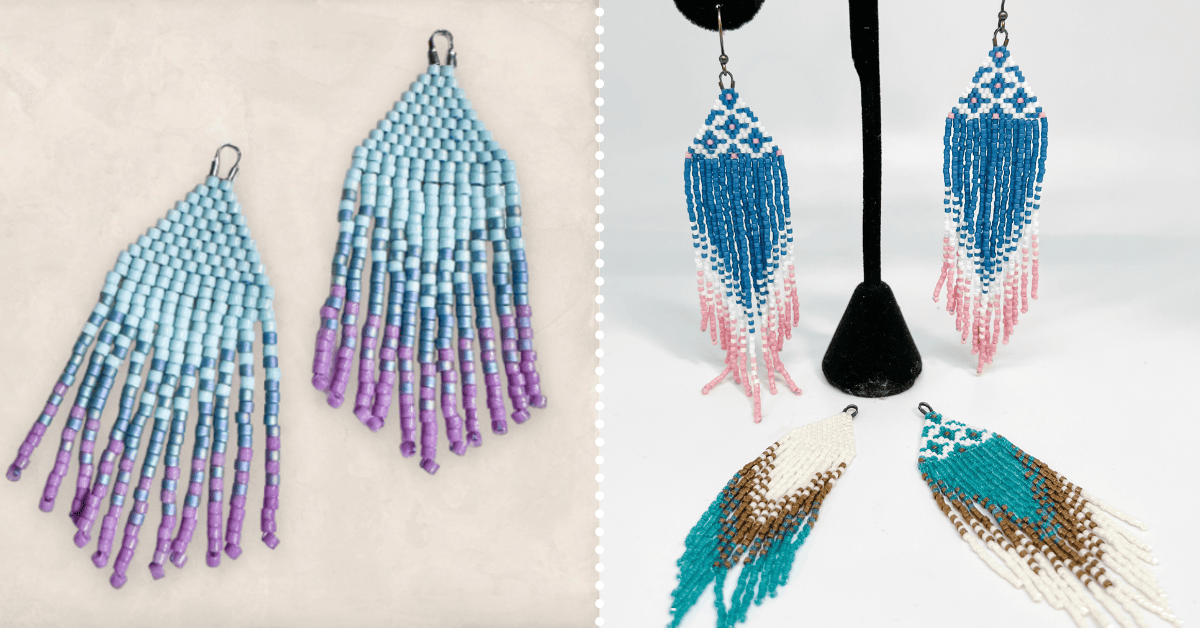
Brick stitch is a super handy beading stitch, great for using to make beaded charms, bracelets, earrings and more!
Brick stitch looks the same as peyote stitch, like little bricks in a wall! The difference is that, unlike peyote and many other beading stitches, instead of passing the thread just through the beads each time, each bead is anchored to the thread path or bridge from the previous row! Brick stitch gives a sturdy finish and is easy to shape with increases and decreases, making it a popular choice for charms
What kind of beads should you use for brick stitch?
Brick stitch works really well wth Delica beads! The uniformity of them means that in brick stitch the Delica beads sit together really nicely!
However, you can also use seed beads, or even faceted fire polish beads like in my Brick Stitch Christmas Tree Ornaments.
Flat brick stitch
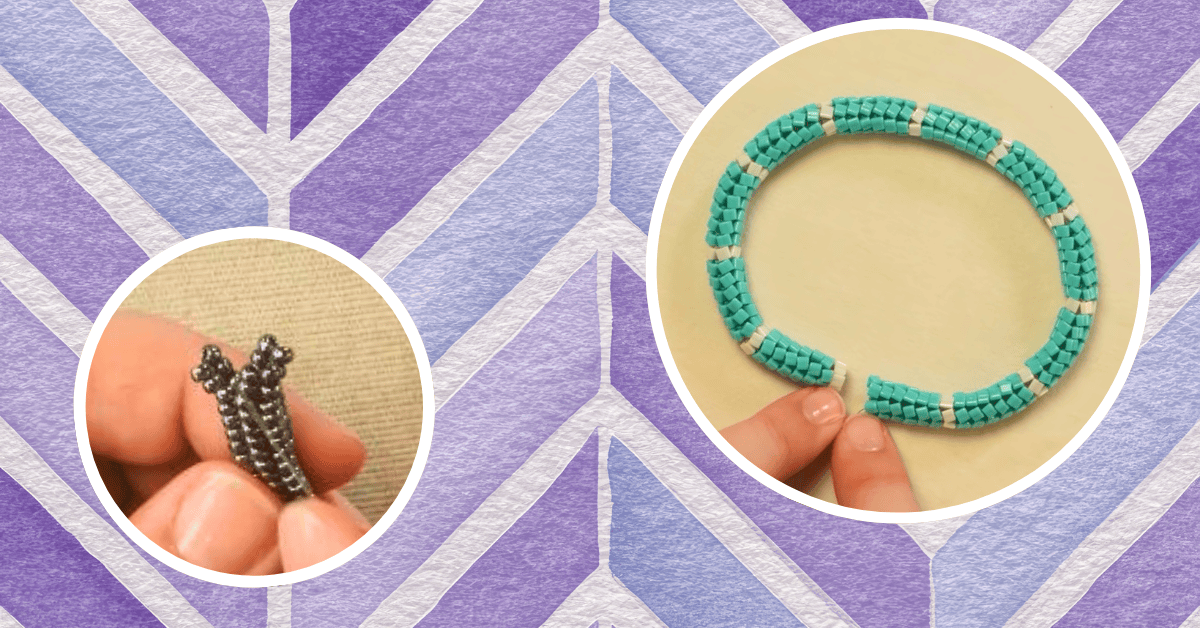
Starting flat brick stitch: Flat brick stitch always starts with Ladder Stitch. To do this you start by picking up 2 beads, now pass your needle back through that first bead from the bottom up, and you’ll see how the beads sit side by side.
You want to pass through the second bead to get into position to carry on adding beads.
Repeat this by picking up a new bead and passing through the previous bead added; you’ll be chasing your thread, so pass through towards the exiting thread.
TIP – Your work will flip-flop each time, so just be aware you won’t always be passing into the previous bead from the top!
Continue ladder stitch until you have enough beads for your first row. You’ll see there might be lots of thread showing, but this will get hidden once you begin to build your rows.
Creating row 2 – we always pick up 2 beads at the beginning of a row in brick stitch.
To decrease at the beginning of a row:
Pick up the two beads and pass the needle under the second thread intersection. Pull through until the bead sits snug, then pass back through the second bead added. To tighten the new beads I like to pass through the new beads again to tighten them up (ladder stitch).
To increase at the beginning of a row:
Pick up the two beads and pass the needle under the first thread intersection. Pull through until the bead sits snug, then pass back through the second bead added. To tighten the new beads I like to pass through the new beads again to tighten them up (ladder stitch).
To continue a row
Pick up 1 bead, pass under the next thread intersection, pass back through the new bead added.
To decrease at the end of a row:
Just add one bead as usual to the final thread intersection.
To increase at the end of a row
Once you have added one bead to the final thread intersection, pick up one more bead and stitch this to the same thread intersection. You’ll see that the two beads pop into place. You may wish to reinforce these two with ladder stitch.
Brick stitch in the round
It’s fun to brick stitch around things! It’s possible to surround a larger bead with brick stitch, create circles or even stitch off of metal components
This is done in the same way – just without the ladder stitch start! With metal components, you can work brick stitch off of the component, as if it were a thread.
With brick stitch around a bead, you pass through the central bead, twice and pull snug and then create your brick stitch around these threads.
To join brick stitch in the round: Once you have secured your final bead, simply pass down into the first bead, pass around the thread intersection and pass back up through the first bead. Then reinforce the first and last bead with ladder stitch.
Now that you have the hang of brick stitch, take a look at these great PATTERNS using brick stitch!